
I have been looking at items around my home trying to find something to repurpose. I came across 2 shallow canvas bins that I purchased years ago to fill a space in a broken dresser. This morning, they were full of kids books stashed under our bed. This evening, they house treasures displayed proudly on my daughters' walls. I have seen many tutes online for fabric covered magnetic boards and bulletin boards, but nothing exactly like this, so I figured I'd post my how-to! It's simple, and because I used what I already had (for the most part) it was super inexpensive. I spent a total of around $7 - and that includes tax.
 |

You will need:
- Spray adhesive
- Shallow bin
- Metal sheeting (I got mine from Home Depot in the with the air duct materials
- Fabric (not too thick) - I used the flat sheets that came with my girls' bedding sets. I don't use them on their beds because they always kick them off anyway. We're a fitted-sheet-plus-blankets kind of family.
- An iron/ironing board
- Glue gun
- Wall screws
- Scissors
- Possibly some tin snips
 |
First, you need to cut the metal sheeting to the size you need for the back of your "new" shadow box. If you go to Home Depot looking haggard and tired while dragging along your three small children, they MAY take pity on you as well, and cut the metal for you. But you didn't hear it from me! -No, really. The guy told me to not let ANYONE know that he did that for me (so I post it on my blog!). I guess they don't like doing it. But I looked pathetic enough. If you aren't as lucky as me, you'll need to borrow or buy a pair of tin snips. They are about $8 at a hardware store. It's a good idea to take the box along with you to the store if they are going to cut the metal sheet, because if it's just a bit too big, it isn't going to fit. You'd hate to get home and find that your metal is too big to work! Be sure to test to make sure it fits before you put the fabric on for sure!
Next, cut your fabric so it hangs over the metal about an inch or more all around. Spray adhesive on one side of the metal, and lay your fabric down. Be sure to smooth out any wrinkles or bubbles.

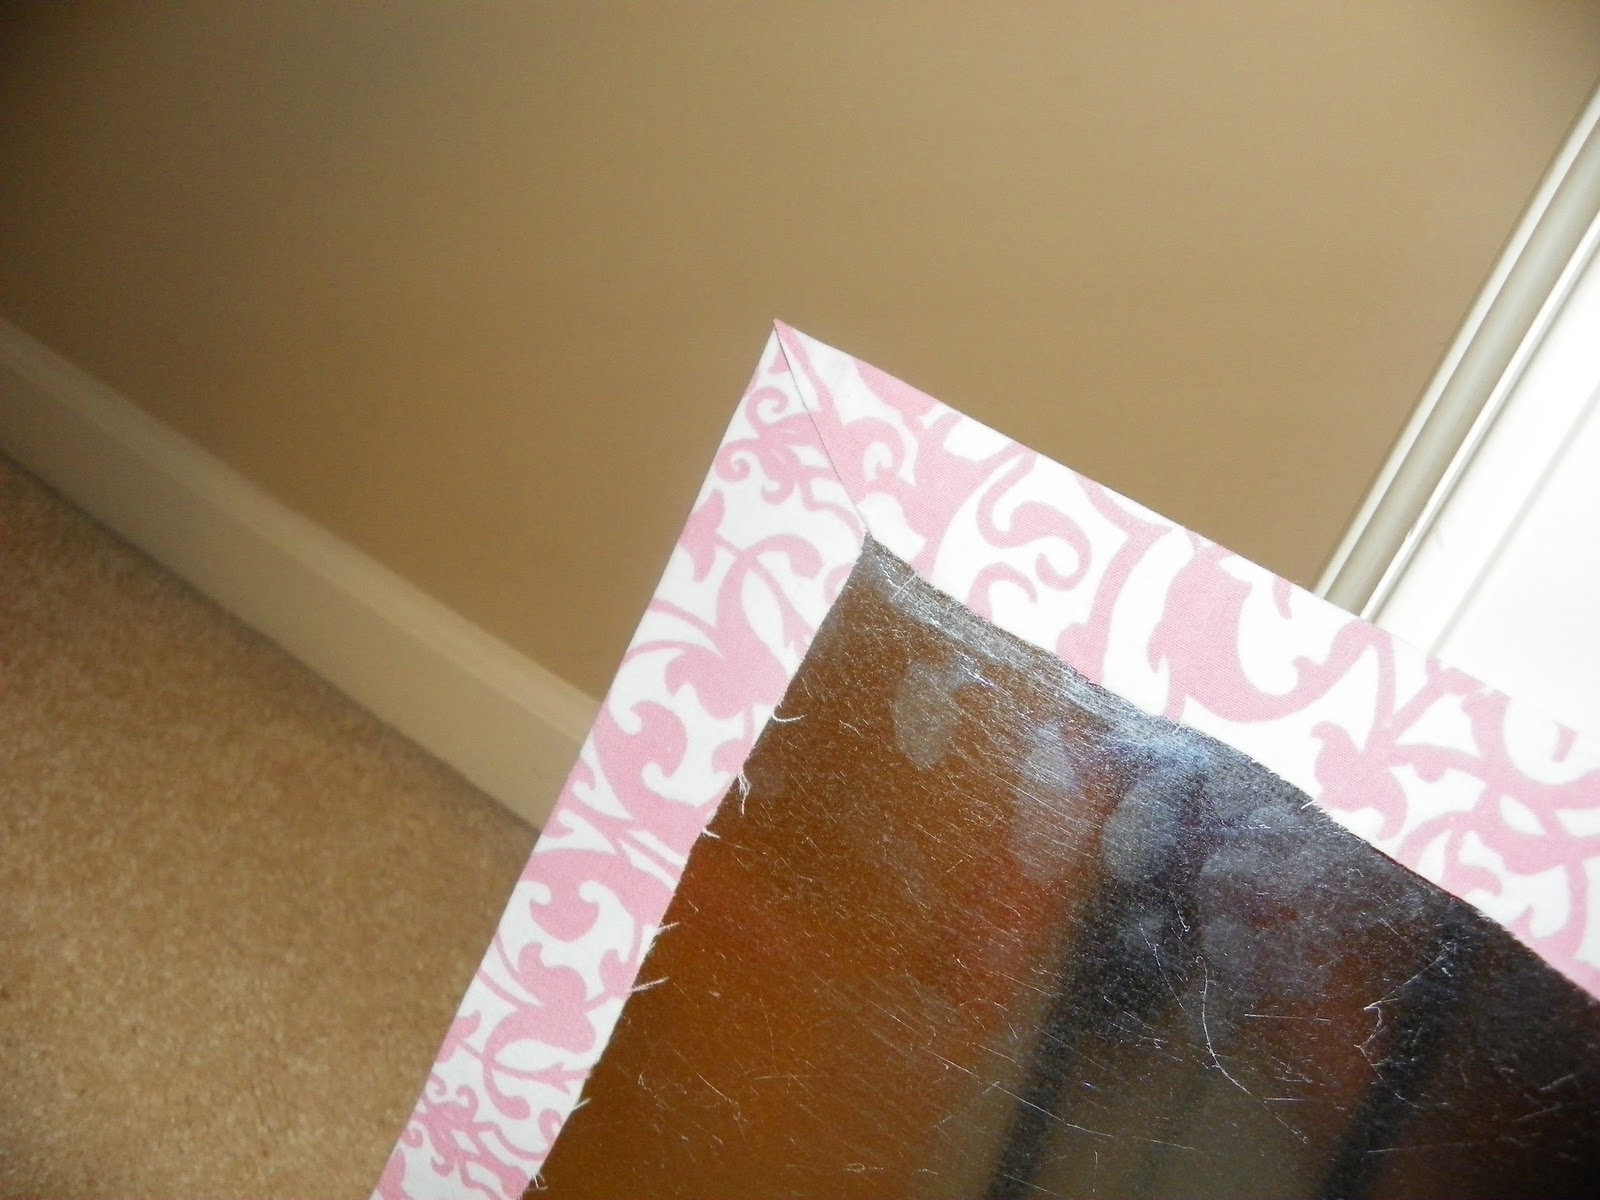
Then, turn the sheet over. Spray the excess fabric with adhesive, and wrap it tightly around the back of the metal sheet. Do this all the way around. You may want to snip the corners a bit, so you don't have big bunches of fabric in each corner.

I don't have a picture for the next step, but you will want to locate a stud in the wall, and screw the box directly onto the wall (without the metal sheet in yet) via the stud. We put two screws in so that it's secure. After it's mounted on the wall, use the hot glue gun to glue the sheet into place at the back of the shadow box. This way, the screws don't show, and all you see is the pretty fabric. Voila! A simple and very inexpensive project. The girls are happy with the results. They each got to pic out 3 magnets that we had made months ago to put in the back (tute on those, here). They will use these to display pictures of their friends. What do you think?


Of course, I had to make two!
No comments:
Post a Comment